Grab the Freebies HERE (Includes color swatches, script style brush, and reference image used in this video):
Products used in video:
Watercolor Garden brushes for Procreate
Torn Shapes brushes for Procreate
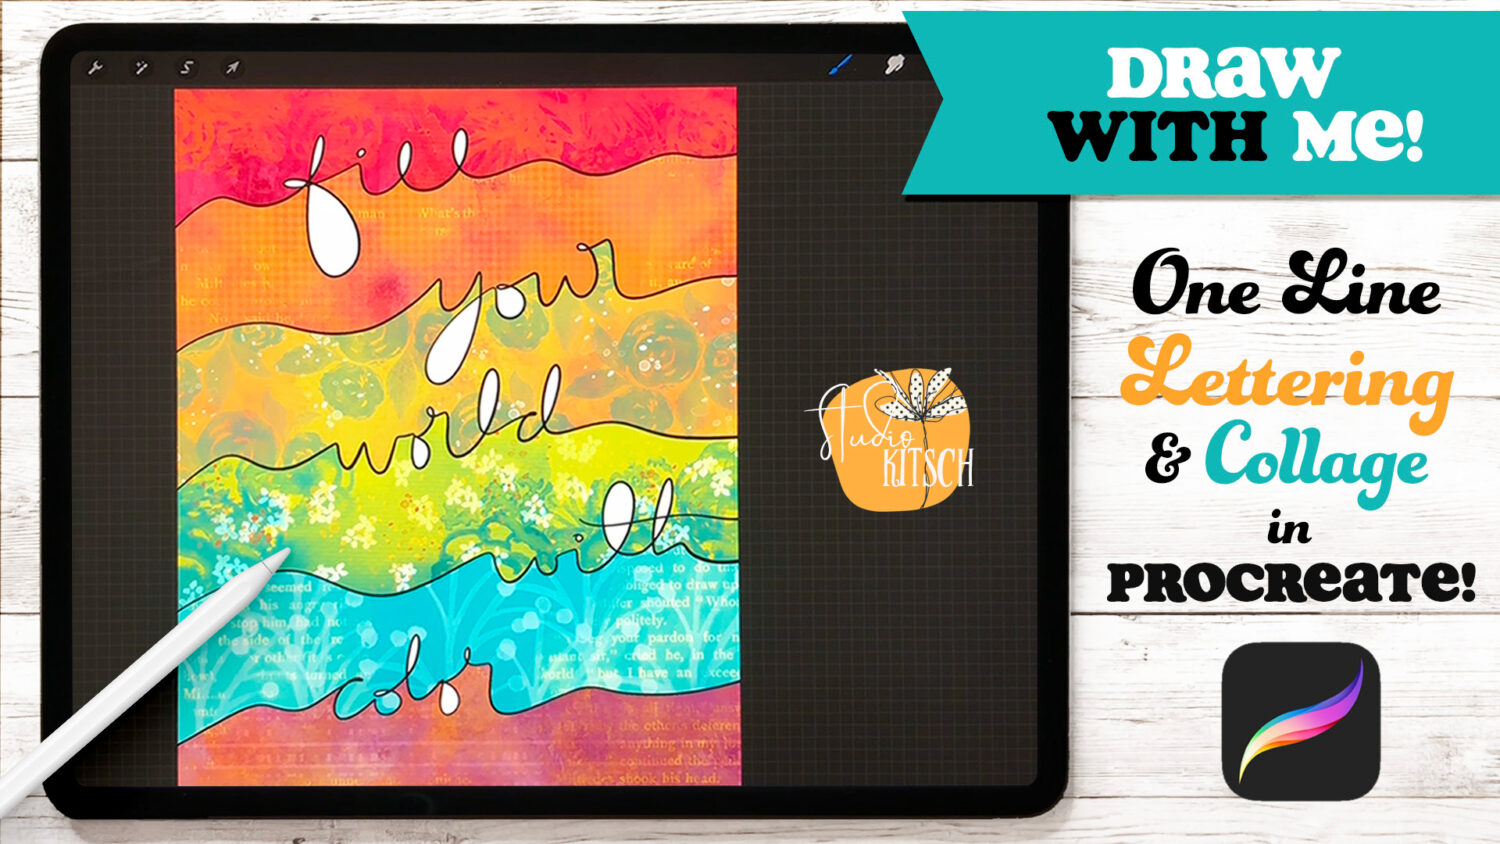
Tutorial Overview: Part 1 – Lettering in a Line
- Create a new document. I created a 8.5×11” canvas at 300dpi with a white background.
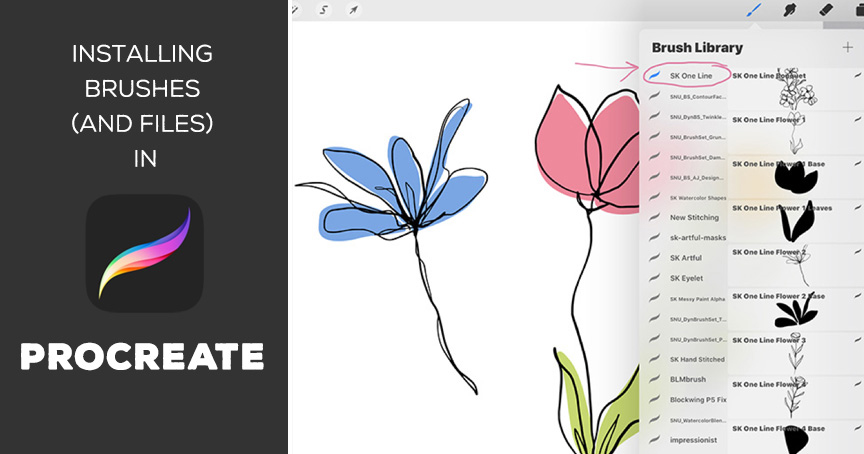
- Grab the freebies including the reference image. Install the Color Swatches and brush, and add the reference image to your document.
- Lower the capacity of the reference image and swipe left to lock the layer.
- Tap the plus in the layers to create a new layer.
- Choose black from the color palette. Tap on the brush icon and grab the free script style brush or just whatever you have.
- On the canvas, start your word with a line and make sure not to lift your pencil as you are drawing your letter and line. It doesn’t have to be perfect.
- Move down on the canvas and start the next lettered line. Remembering to draw in a continuous line without lifting up your pencil. Try to keep in mind how many lines you will need and leave space for them on your canvas. Also, try to vary the placement of each of your words on each line so that they’re not all lined up on top of each other.
- Move down and letter the next line.
- Continue adding your lines until you fill the canvas.
- Swipe left on your lettered line layer and lock it. Tap on the layer to open the layer options and choose Select. In the Selections tool bar, tap clear. Then Tap automatic.
- On the canvas, tap on the open area above your first line of lettering to make a selection. Slide your pencil to the right until the threshold is it about 20%.
- Create a new layer.
- Tap the color button and choose a color, I’ve used pink, drag and drop the color into the selection on the canvas.
- In the layers, tap on your lettering layer, then tap and choose Select.
- Tap clear, and then tap in the second open area area between the first and second lettering lines.
- In the layers, choose the color layer, then grab a color. I used orange.
- Drag and drop the color into the selection on the canvas.
- In the layers, tap the lettering layer, tap again and choose Select.
- Tap clear, and then tap in the third open area area between the second and third lettering lines.
- Choose a color. I used yellow. Drag and drop it into the selection.
- Follow the same steps to fill in the remaining three open areas of the lettering layer.
Part 2 – Adding a Collage Look to Your Lettered Artwork
PLEASE NOTE: I am listing the colors and brushes I used in the video. If you used different colors and brushes swap out what’s listed in the instructions below with your choices.
Color Section 1: - In the layers and choose the color layer, swipe left and tap lock. Then tap the layer and choose Select.
- In the Selection Toolbar, tap Clear and then on your canvas, tap anywhere on the color pink to create a selection.
- In the layers, create a new layer. Choose a darker pink color and the Garden Texture brush from the Watercolor Garden brushes and painting on top of the pink area. Since we created a selection the brushwork will stay confined to the pink area.
- Grab another pinkish color and layer that right on top,
- Create a new layer.
- Our selection is still active, grab a new color. I’ve used a yellow-orange, and the Flower Mask brush from the same set.
- Stamp the bottom edge of the brush on the top edge of the canvas.
- Grab pink and the Floral Texture brush and add a bit of pink on top of the orange.
Color Section 2: - Following the previous instructions, starting with choosing the color layer in the layers, make a selection of the orange (or second) color section and then start adding texture and brushes to the selection. I used these brushes and colors: SK Watercolor Garden Texture brush/pink, SK Torn Shapes Gingham/purple, Vintage Pattern brush/yellow.
Color Section 3: - Following the previous instructions, starting with choosing the color layer in the layers, make a selection of the yellow (or third) color section and then start adding texture and brushes to the selection. I used these brushes and colors: SK Watercolor Garden Meadow Texture brush/pink, Rose Trio 2/blue, Paint Spatters brush/blue, SK Watercolor Garden Texture brush/pink.
Color Section 4: - Following the previous instructions, starting with choosing the color layer in the layers, make a selection of the green (or fourth) color section and then start adding texture and brushes to the selection. I used these brushes and colors: SK Watercolor Garden Flower Mask brush/dark blue, Mini Flower Scatter/white, Paint Spatter brush/orange.
Color Section 5: - Following the previous instructions, starting with choosing the color layer in the layers, make a selection of the blue (or fifth) color section and then start adding texture and brushes to the selection. I used these brushes and colors: SK Watercolor Garden Sprig brush/white, SK Torn Shapes Vintage Painted Pattern/yellow, Paint Spatter brush/orange.
Color Section 6: - Following the previous instructions, starting with choosing the color layer in the layers, make a selection of the purple (or sixth) color section and then start adding texture and brushes to the selection. I used these brushes and colors: SK Watercolor Garden Texture brush/pink-purple add several colors with this brush, SK Torn Shapes Vintage Painted Pattern/add several colors, SK Watercolor Garden Floral Texture brush/purple.


